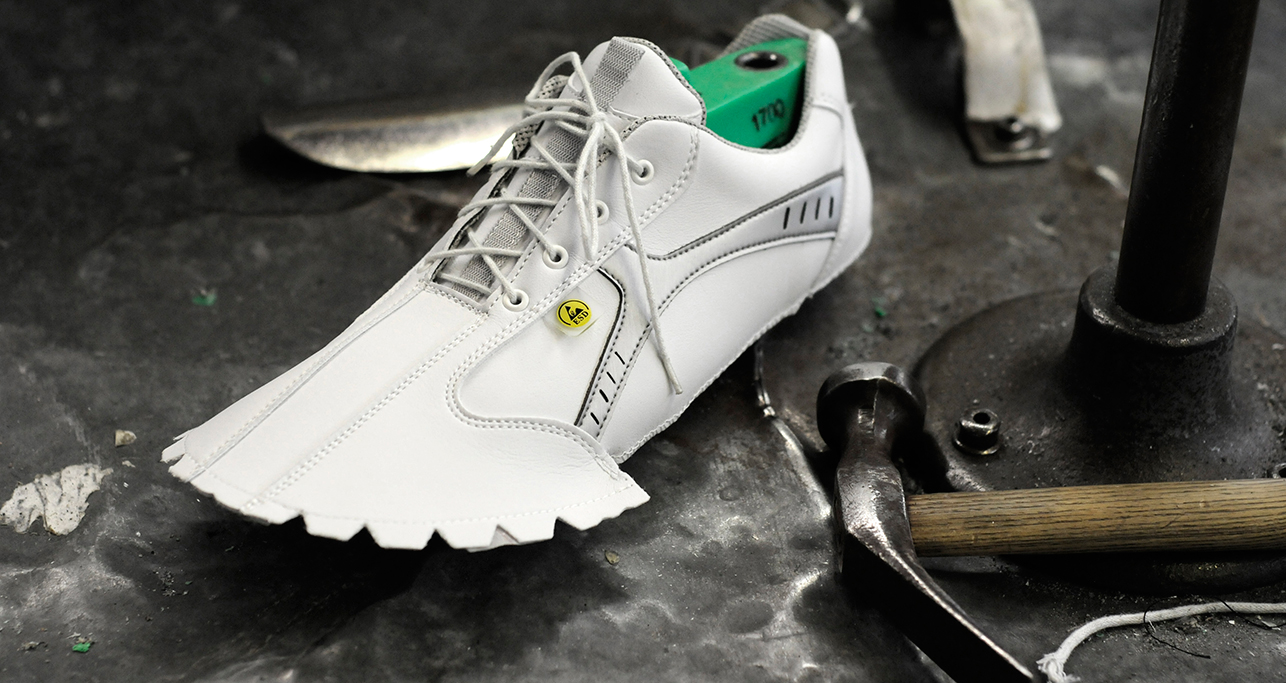
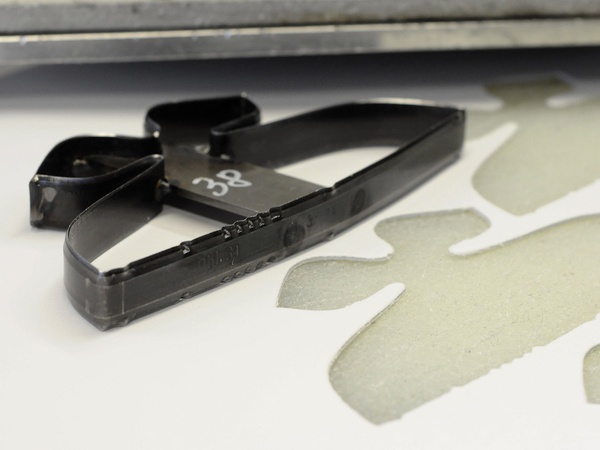
1. the punching of the handmade safety shoe
The individual shaft parts are cut to size with the help of punching knives. These have the exact shape of the individual stock parts and are made of steel ground on one or both sides. Notches, serrations and spikes are also worked in, which provide clues when the parts are later joined together.
2. sharpening the shoe
So that no disturbing transitions occur when the upper parts are sewn together, the edges are bevelled and approx. 50% of the thickness of the leather is removed in the process.
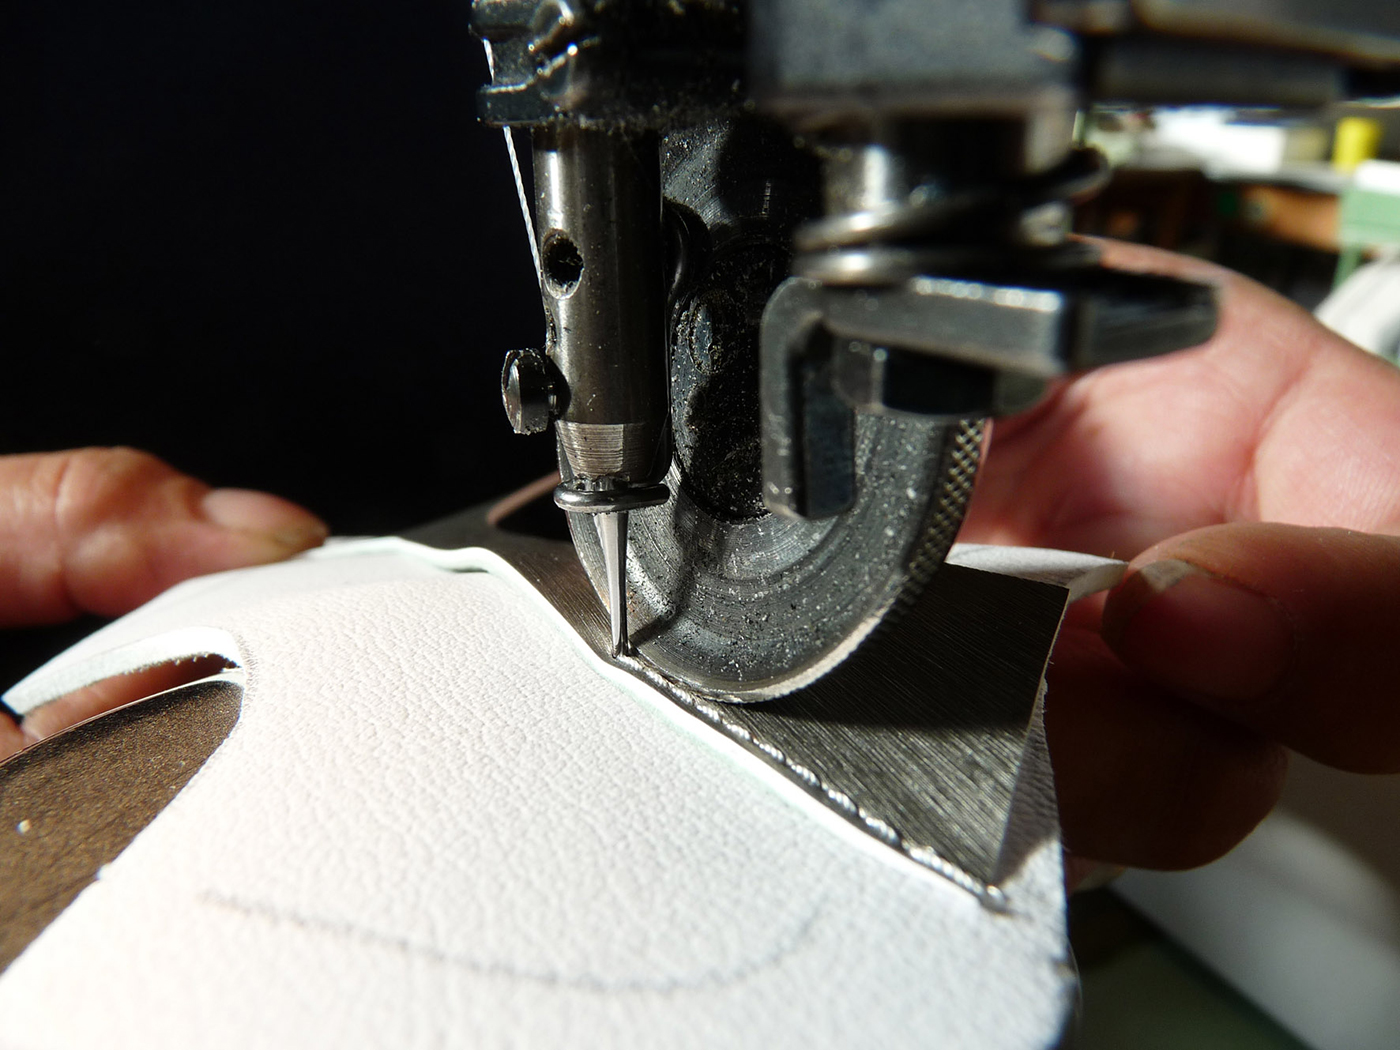
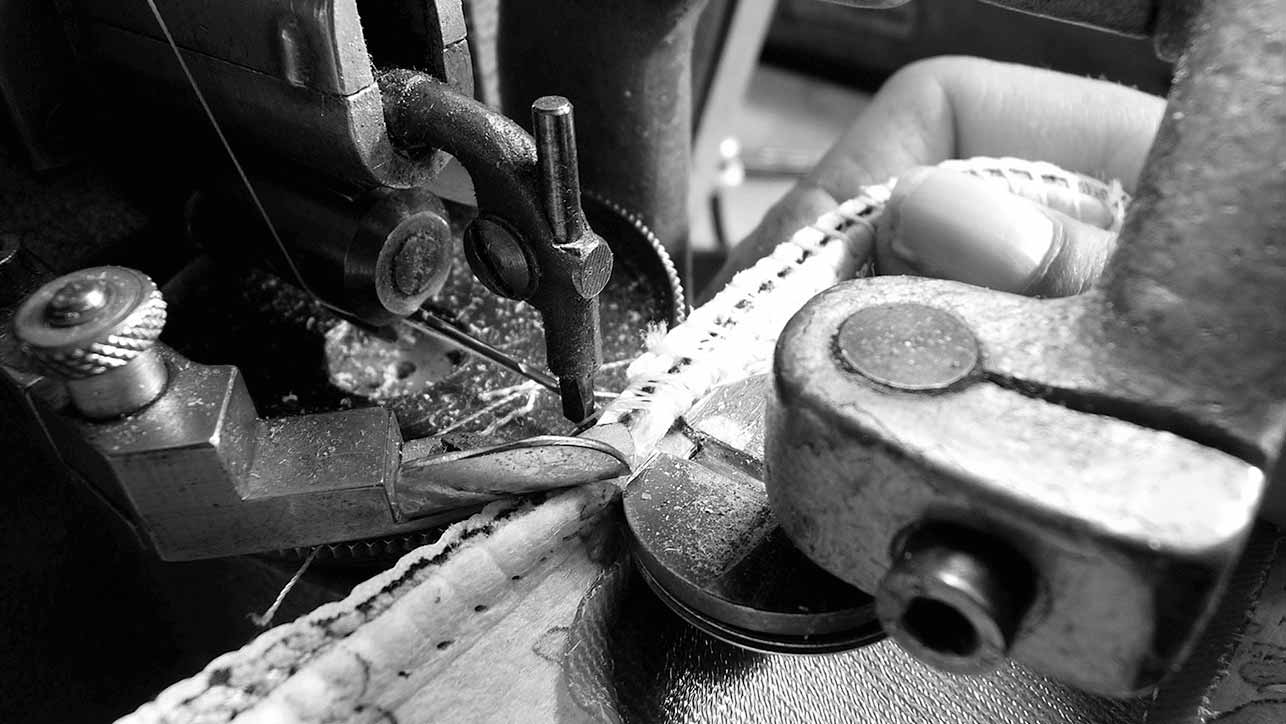
3. stitching the safety shoe
The precise joining of the prepared upper parts made of different materials requires a high qualification of the employees. After the upper leather parts are stitched, the lining is attached and folded over (tumbled).
4. strobing
In strobing, the upper and lining are sewn flush with the insole. The advantage of this method is the low weight and high flexibility. A special feature of strobelled SCHÜRR models are the gel parts of the 3-fold cushioning or 3-fold cushioning Plus integrated into the insole.

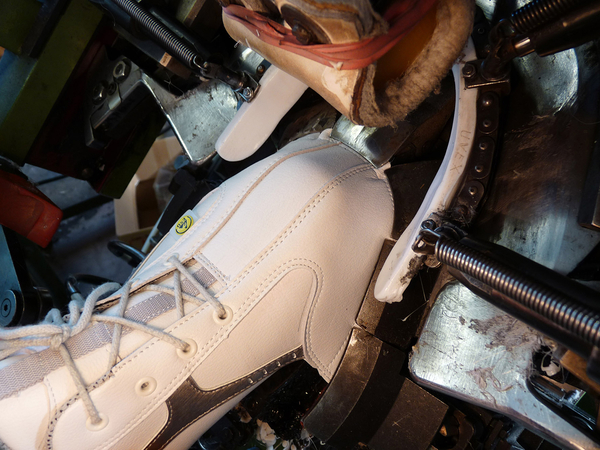
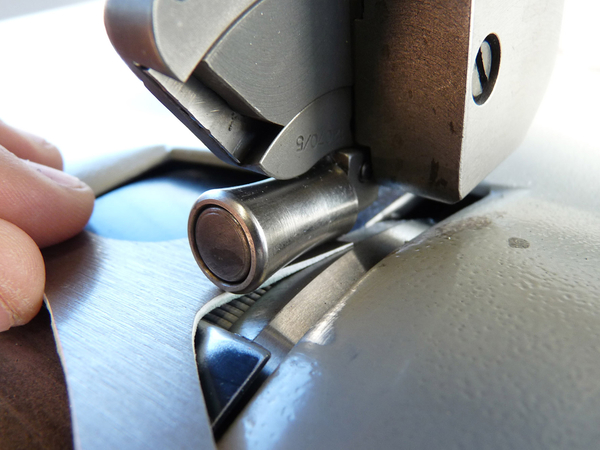
5. pinching
In the so-called AGO method, the upper is stretched over the last with pinching pliers, shaped and glued to the insole. The bonding is usually done with strand adhesive.
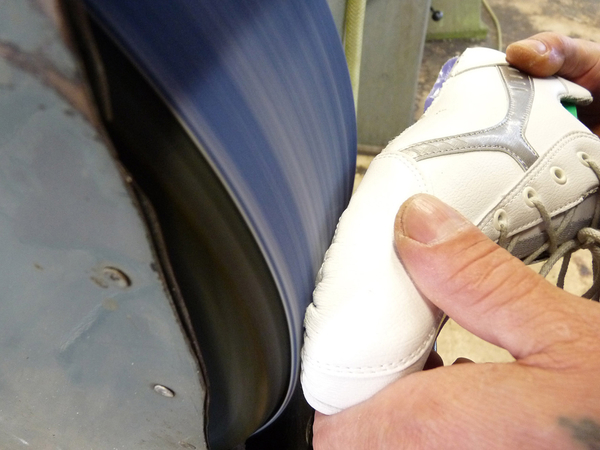
6. grind flat
After the pinching process, the underside of the upper must be ground flat. Thanks to more than 250 years of experience in the shoe trade, we have developed the perfect method to avoid removing too much material or damaging the gel parts of the triple cushioning.
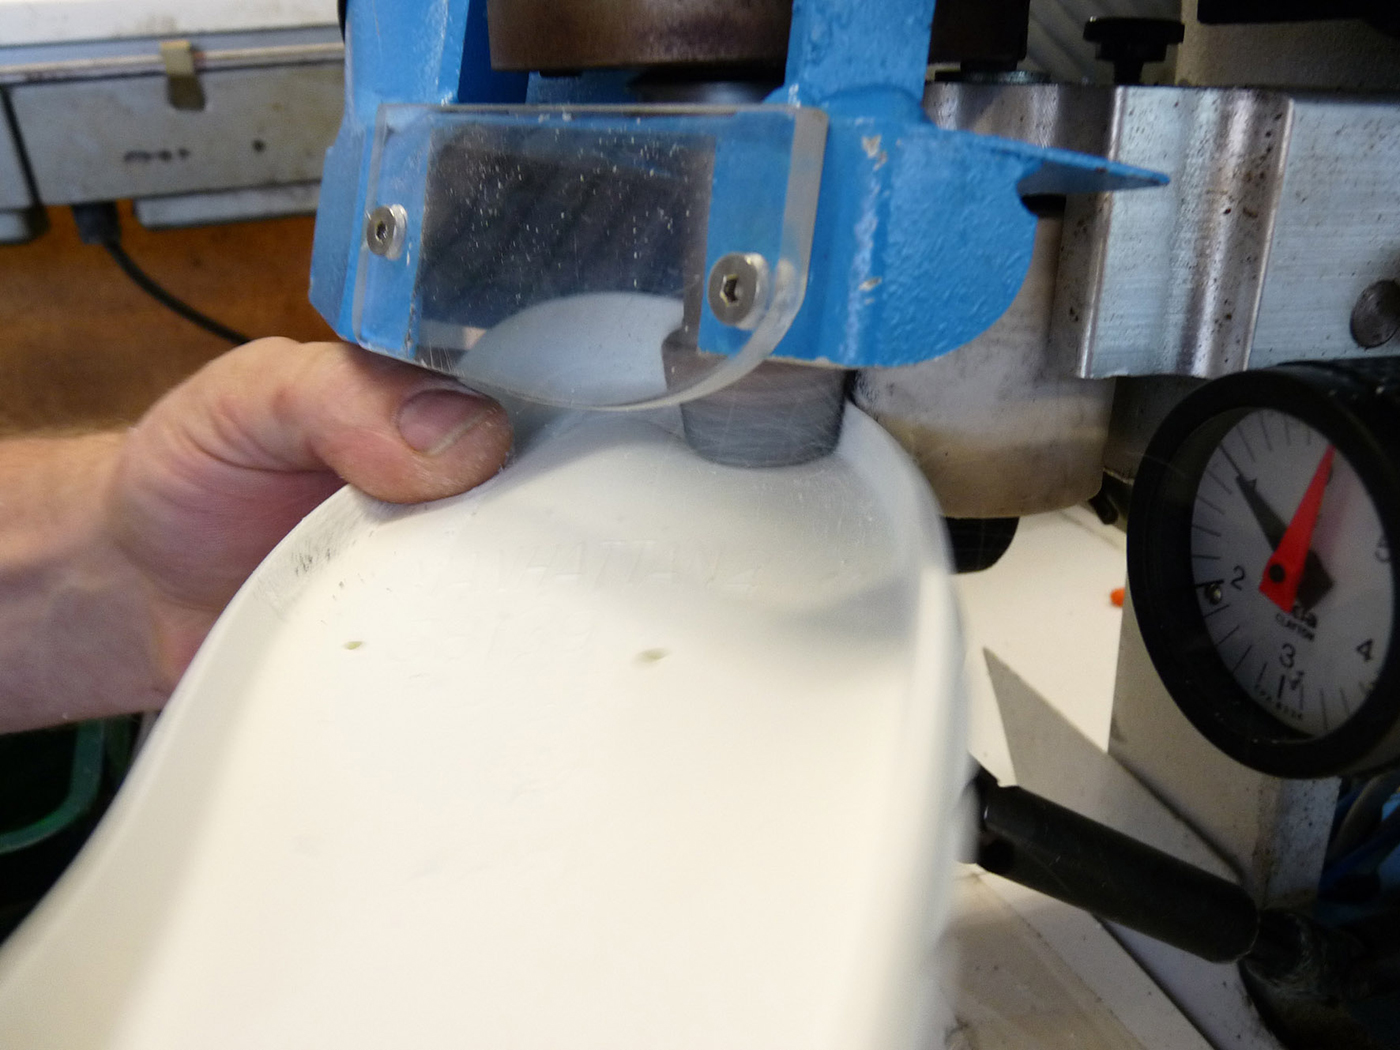
7. roughening
To ensure optimal bonding of sole and upper later on, the inner edge of the PU and rubber soles is roughened.
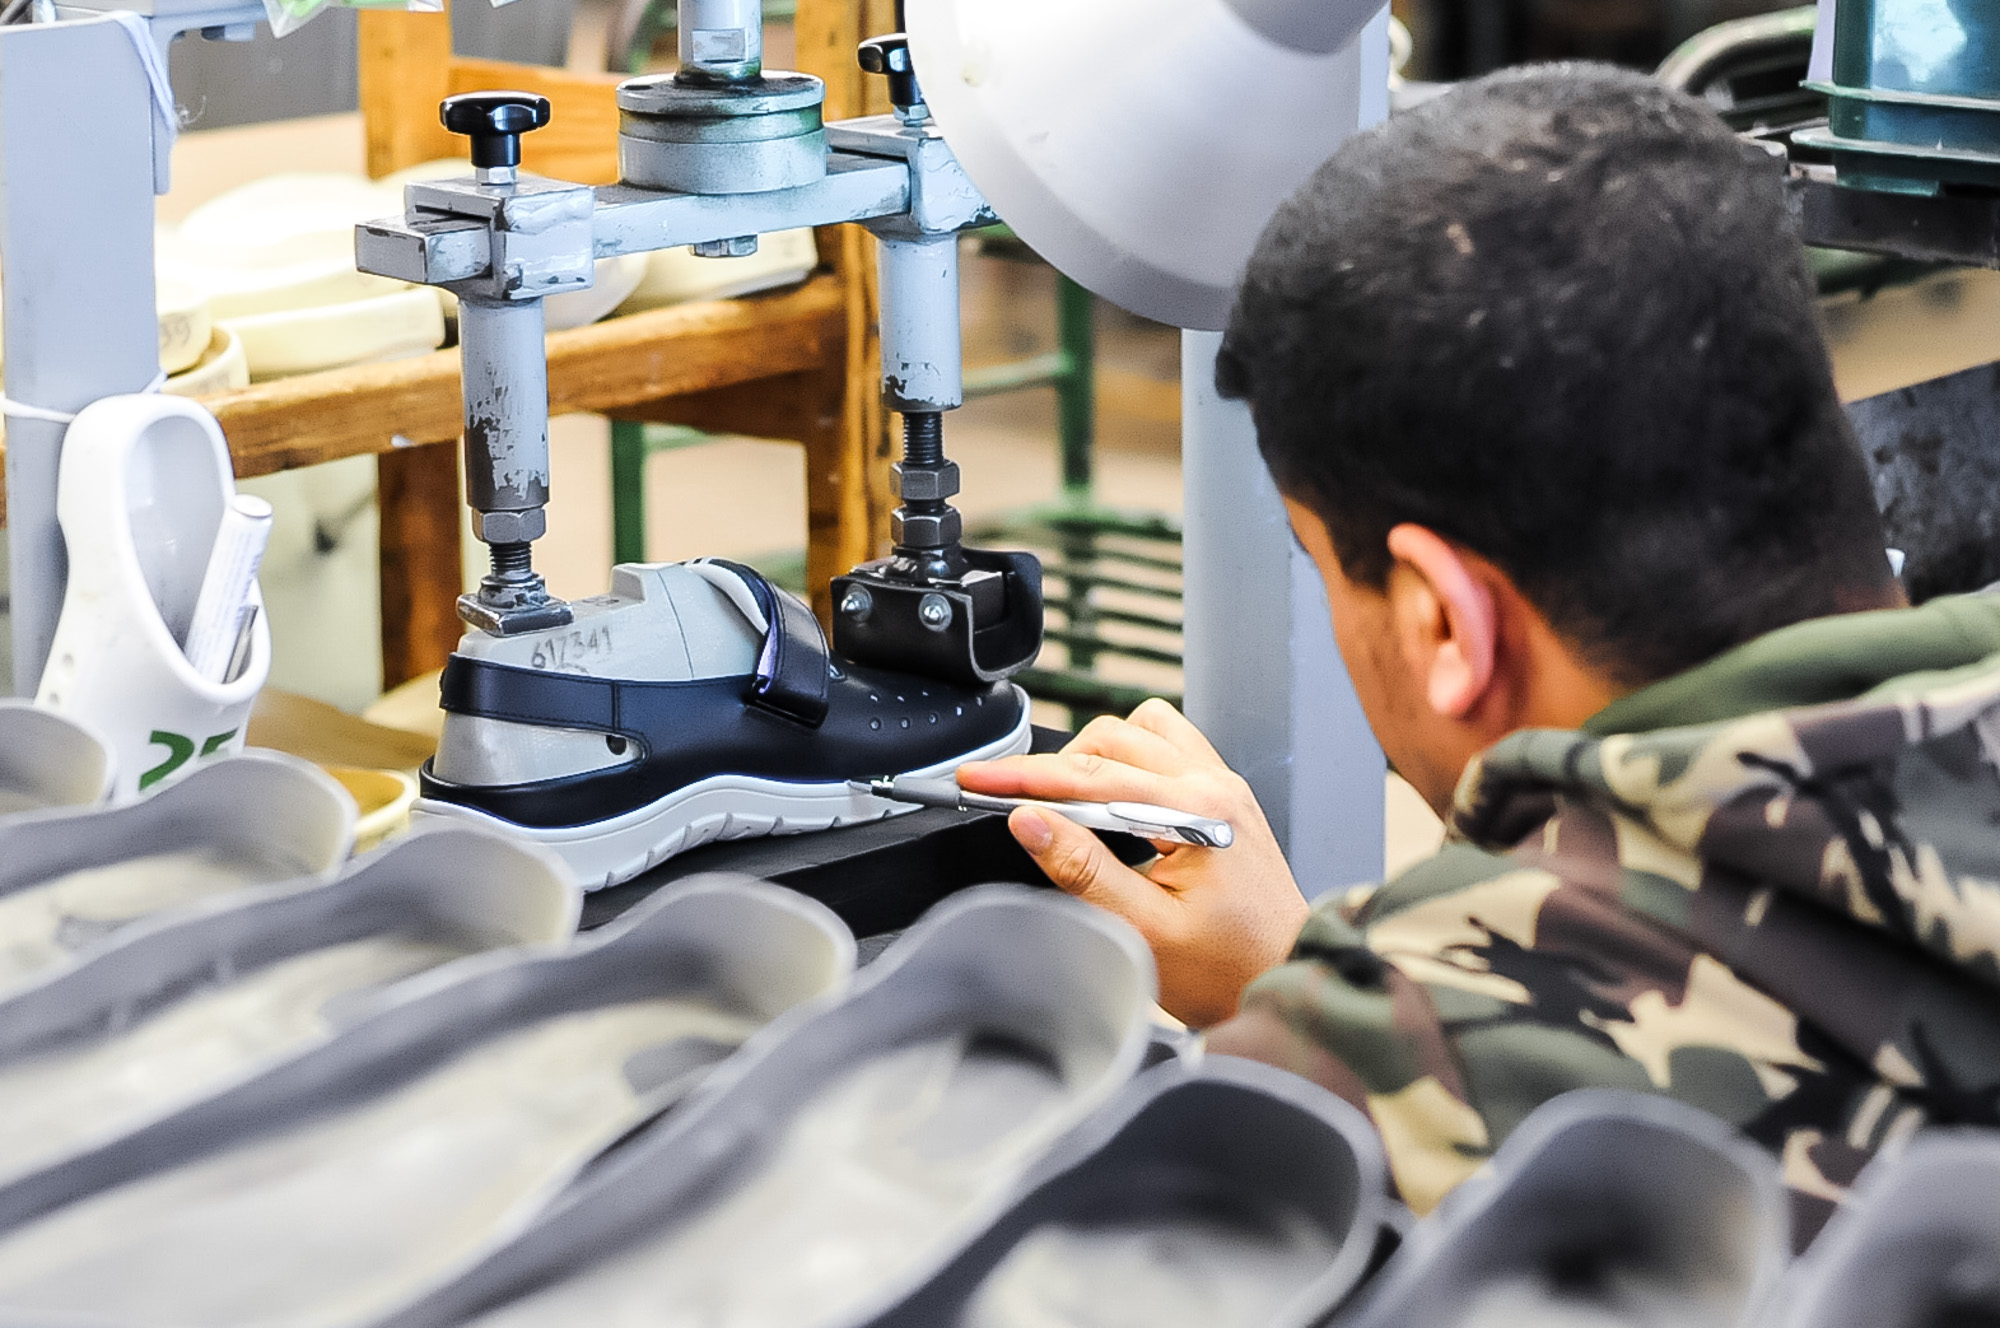
8. pre-drawing
The edge of the sole is drawn on the upper by hand. The pre-drawing is true precision work - as is the subsequent application of the glue.


9. painting
Now the adhesive is applied to the prepared shafts and soles. This is done by hand and where necessary in several passes.
10. placing the sole
The sole prepared with adhesive is briefly activated with heat and then placed by hand on the socket, which has also been coated with adhesive. Then the sole is pressed for a permanent connection.